Apply for India Student Visa in 2026: Official Guide
Every year, thousands of international students head to India for university. To do it legally, you’ll need to work through a set of rules set by the Bureau of Immigration, and getting them right the first time saves you a lot of hassle once you land.
Approved Educational Establishments for Foreign Nationals
Not every campus in India can enroll international students, so the first step is confirming yours is on the list. Check that either the Association of Indian Universities (AIU) or the University Grants Commission (UGC) recognizes it.
Private universities need a valid government charter before visa officers will even look at your file. And you’ll generally be picking from a set track: engineering, medicine, law, management.
If you’re headed there for yoga, dance, or music instead, the Ministry of Home Affairs keeps its own approved list of cultural institutions. Unaccredited learning centers and private tutoring schools won’t get you a visa, no matter how good the program looks.
Your admission letter needs to include the school’s registration number, and it’s worth double-checking that your university holds active approval under Section 12B of the UGC Act. It’s a small detail, but officers do check it.
Passport Specifications and Document Validity Standards
Your passport needs at least 12 months of validity left beyond your arrival date, plus a minimum of 2 blank pages for entry stamps. Cutting it close on either of these is a common reason applications stall.
Photos have to be exactly 2 inches by 2 inches (5.08cm by 5.08cm), on a plain white background, no shadows. Bring 4 identical printed copies to your embassy appointment.
You’ll also need original academic certificates from your high school or previous college. If those documents aren’t in English, get them translated by a licensed translator, not a friend who happens to speak the language.
For the photo itself: look straight at the camera, both eyes visible, neutral expression. Skip the headwear and the statement jewelry.
How to Submit Your Online India Student Visa Application
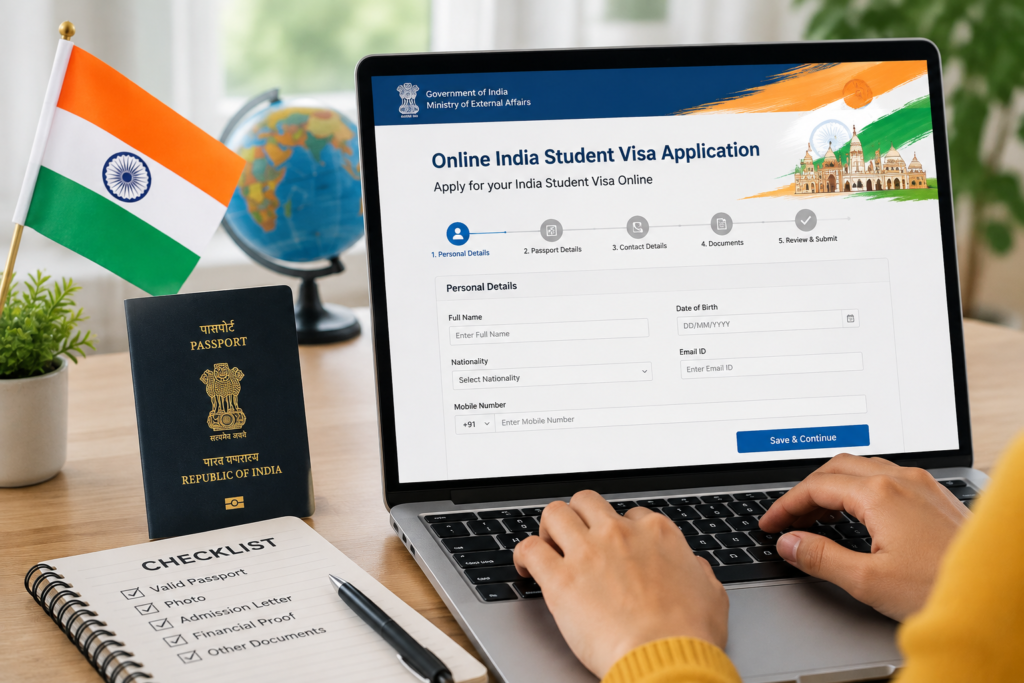
Step-by-Step Portal Navigation Guidelines
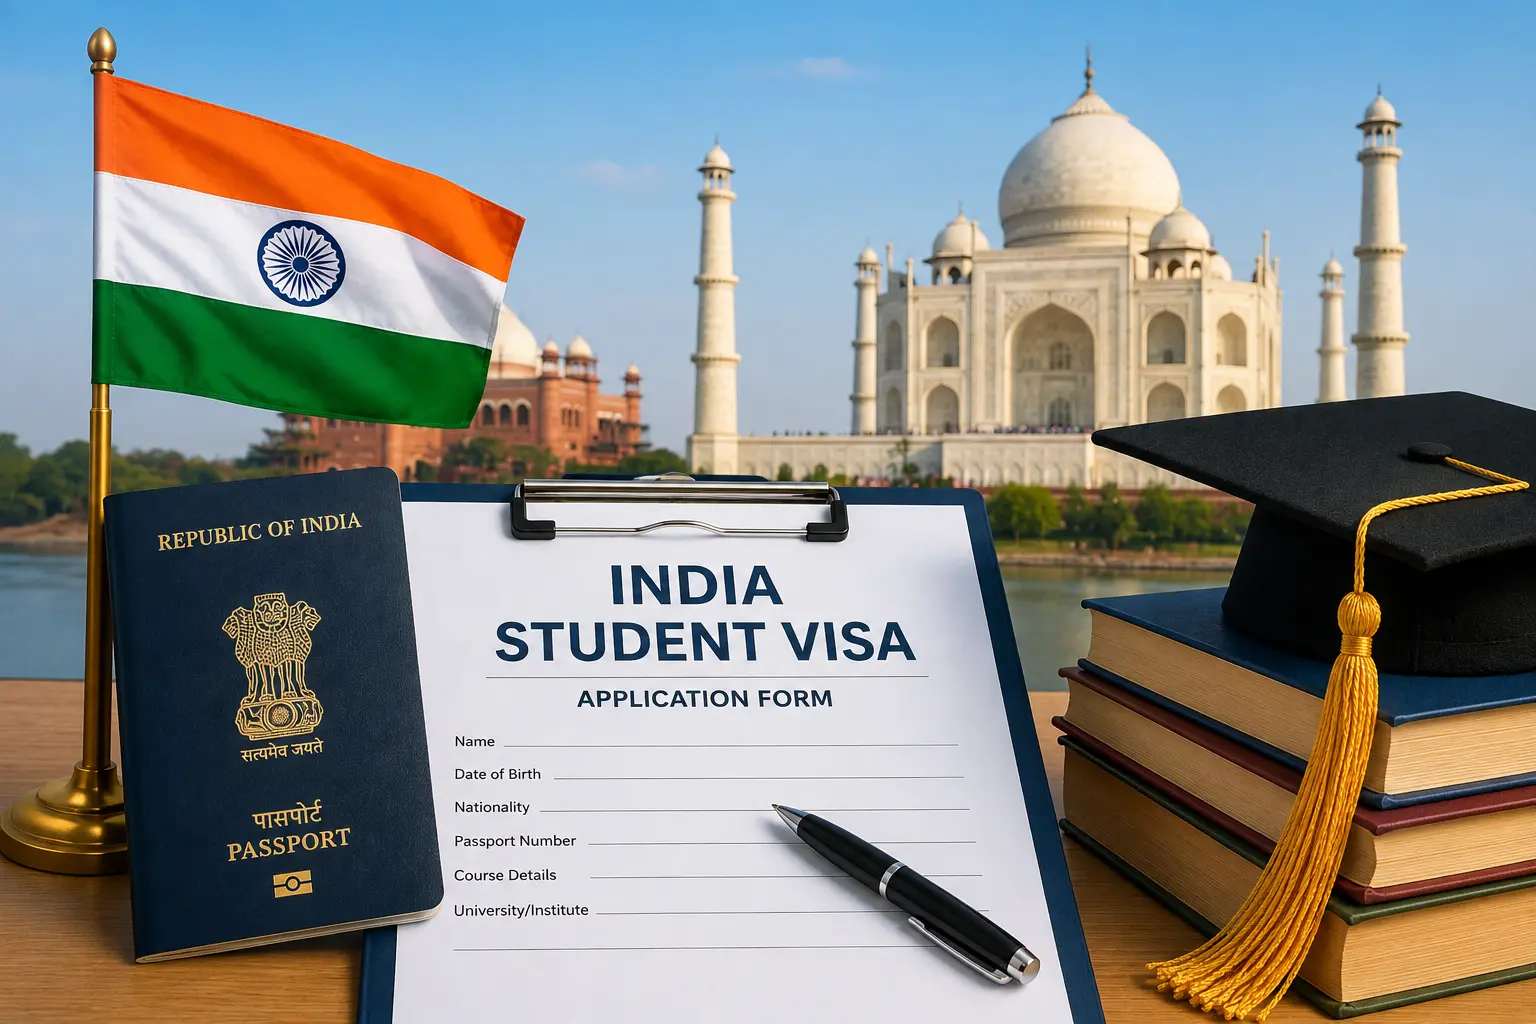
Everything starts on the Indian Visa Online portal, run by the Ministry of External Affairs. Pick the regular visa application option from the landing page, then enter your country, your current residence, and the institution you’ve been admitted to.
Fill in every field carefully. Rushing here is how processing delays happen. Once you save your first page, the system hands you a temporary application ID, hold onto that. If your browser crashes mid-application, that ID is how you get your form back.
Your personal details need to match your travel documents exactly, down to spelling. The portal will also ask about your parents and any past visits to South Asia, which catches some applicants off guard. Save each section as you go rather than trying to fill the whole thing in one pass.
Document Upload and Photo Parameter Compliance
Digital photos need to be JPEG format, under 300 KB. Your bio-data page should be scanned as a PDF under 1 MB, and your admission letter goes in alongside it.
Make sure you’re applying through the correct Indian mission for your jurisdiction, and check your name against your passport’s machine-readable zone one more time before you submit. Small mismatches cause real delays.
Once it’s done, print the completed form on plain white paper for your appointment. The barcodes at the margins need to be clearly legible, so avoid printers that run low on toner.
What Are the Mandatory Financial and Health Documents?
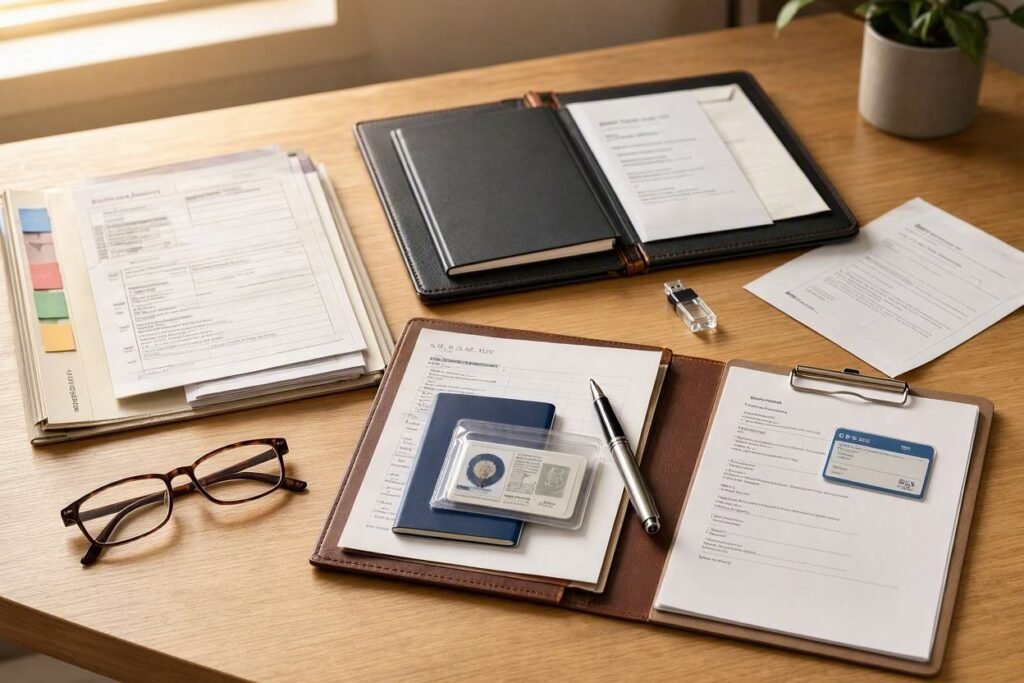
Financial Sufficiency Assessment Rules
Immigration officers want proof you can cover tuition and living costs without working locally, since student visas don’t come with work rights. That means showing somewhere between 500,000 and 800,000 INR (roughly 6,000 to 9,600 USD) per academic year.
Bring original bank statements covering the last 6 months, stamped on every page by the bank. If a parent or sponsor is funding your studies, they’ll need to sign a formal affidavit of support.
Officers pay close attention to sudden large deposits, since that’s a common red flag for fraud. If you’re on a scholarship, the original award letter from the sponsoring body works in place of bank statements, but it needs to spell out exactly how long the funding lasts.
Mandatory Health Checks and Mandatory Vaccination Certificates
Health screening exists to keep communicable diseases from crossing borders, and the Ministry of Home Affairs takes it seriously. If you’re transiting through a yellow-fever risk zone, you’ll need that vaccination certificate on hand.
Medical programs specifically require full blood panels and chest X-rays. Beyond that, standard medical coverage runs 15,000 to 30,000 INR a year (about 180 to 360 USD), and it’s worth having before you travel rather than scrambling after.
Travelers from certain countries also need a polio vaccination certificate, issued by an authorized lab within 30 days of submission. Your medical report has to explicitly clear you of active tuberculosis or other serious respiratory infections, and you’ll want the physical copies on hand at the border, not just saved on your phone.
How to Manage the India Student Visa Interview Process
Once your paperwork is in order, you’ll book a physical appointment at your nearest diplomatic mission or VFS Global center. Get that slot confirmed before you finalize any travel plans around it.
Biometrics Collection and In-Person Submission Rules
Most missions outsource the collection step to service partners like VFS. Bring your printed form, original transcripts, and your passport to the appointment.
They’ll take all 10 fingerprints plus a facial photo, and you’ll pay the processing fee on the spot, usually by card or bank draft. Keep the receipt; it’s how you’ll track your file afterward.
Book this slot at least 3 weeks before you plan to travel. Delays happen more often than the timelines suggest. Show up 15 minutes early.
Common Interview Questions and Strategic Response Formulation
The interview itself is mostly about proving you’re a genuine student, not testing your knowledge. Be ready to walk through your academic history, why you chose your course, and your plans after graduation.
If funding comes up, have your bank statements ready to hand over immediately rather than describing them from memory. Officers also tend to ask why India specifically, so have a real answer rather than a generic one.
Dress the part and stay direct. Vague or hesitant answers about your program or your university’s location raise more questions than they settle.
What Is the India Student Visa Fees and Processing Timeline?
Processing usually takes 2 to 8 weeks, depending on your nationality. If you’re applying for a research visa, budget for at least 6 weeks since those go through extra security screening.
Once your interview’s done, track your status through the portal. Phone updates aren’t an option; consular offices don’t give them out. If you’re in a genuine hurry, the VFS center offers expedited processing for an extra fee.
June through August is peak season, since that’s when most university terms start worldwide. Apply early if your dates fall in that window, because backlogs are common.
Fee Breakdown and Mandatory Payments
Costs vary by country under reciprocal agreements, but expect somewhere between 10,000 and 15,000 INR (120 to 180 USD) for a standard student visa. This fee is paid directly to the consular account and it’s non-refundable, even if your application gets denied.
If the center doesn’t take cards, bring exact cash or a certified banker’s cheque. On top of the visa fee, service partners typically add a handling surcharge of 1,200 to 2,500 INR (15 to 30 USD).
How to Comply With Post-Arrival FRRO Registration Rules
The Mandatory 14-Day Reporting Windows
Landing in India isn’t the finish line. You’ve got 14 days to register through the e-FRRO portal, and the Bureau of Immigration does actually track this.
Miss the deadline and you’re looking at financial penalties. Change addresses after that? You’ve got 24 hours to report it, not 14 days.
You’ll need your landlord agreement or hostel allocation letter as proof of address, along with your disembarkation card showing your port-of-entry stamp. Once verified, the portal issues a residential permit, and you won’t need to visit a police station in person for routine updates.
Securing the Bonafide Certificate From Your University
Your university has to confirm you’re actively enrolled, so get a bonafide certificate from the international student registrar during your first week. It needs the official seal and the vice-chancellor’s signature, not just a printout on letterhead.
Upload it to your immigration profile once you have it. Officers cross-check it against the ministry’s student database, and you’ll want your final registration certificate on you alongside your passport at all times, since spot checks do happen.
How to Renew and Extend Your Student Visa Status
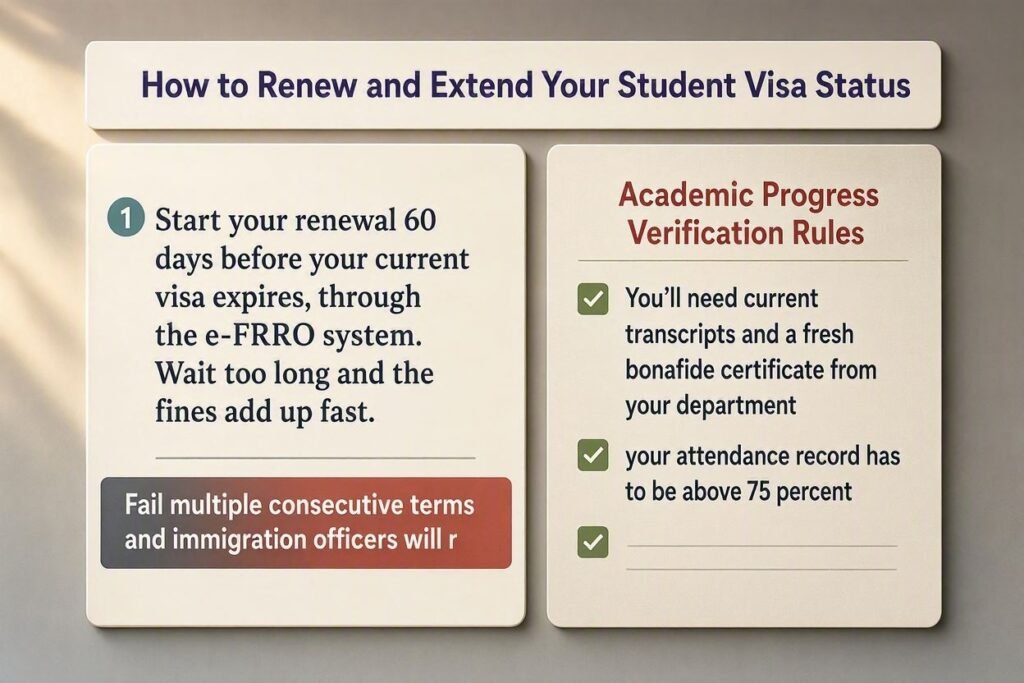
Start your renewal 60 days before your current visa expires, through the e-FRRO system. Wait too long and the fines add up fast.
Academic Progress Verification Rules
Renewals hinge on how you’re actually doing academically. You’ll need current transcripts and a fresh bonafide certificate from your department, and your attendance record has to be above 75 percent.
Fail multiple consecutive terms and immigration officers will reject the extension outright. If you’ve had gaps or switched courses, write a formal statement explaining why, and get your university to endorse the extension before it goes to the immigration bureau.
Updating Financial Records and Fee Receipts
Financially, you’re proving the same thing you proved the first time: current bank statements showing you can fund the coming year, plus your tuition payment receipts. Extensions are granted a year at a time, up to a 5-year ceiling total.
Keep your financial history clean throughout your stay. If a sponsor is still covering costs, they’ll need to submit a fresh affidavit alongside the proof of funds.
Put together your full file before you start the portal upload rather than piecing it together as you go. It’s the difference between a smooth extension and a stressful one.
Here’s a quick reference for how the main steps stack up:
| Task Name | Standard Timing | Submission Method | Difficulty Level |
|---|---|---|---|
| Online Form Completion | 2 hours | Digital Portal | Medium |
| Biometric Enrollment | 1 day | In-Person Center | Low |
| Consular Evaluation | 2 to 8 weeks | Diplomatic Review | High |
| FRRO Registration | 14 days | e-FRRO System | Medium |
Finalizing Your Academic Journey to India
None of this is complicated once you know the sequence, but skipping a step or missing a deadline can cost you weeks. Start early, keep your documents organized, and treat the FRRO registration with the same seriousness as the visa itself. For expert guidance on managing your international transitions, visit Immigration Win to review advanced visa strategies.
FAQs

Michael Reynolds
Michael Reynolds leads ImmigrationWin’s immigration, visa, and global mobility content division. He specializes in researching immigration policies, visa requirements, application processes, and international relocation pathways for individuals, families, students, and professionals. With extensive experience analyzing immigration regulations and official government guidance, Michael brings a research-driven approach to complex immigration topics and changing visa policies. He is the primary author of ImmigrationWin’s visa guides, immigration resources, and country-specific content, helping readers better understand their options and make informed decisions about their international journey.
Related Posts